Blog #4 – Top 10 DSLR equipment for taking great Seascape Images
1. DSLR Camera body
While I have produced a separate article on entry level DSLR’s for seascape images which you can read here, it’s worth going over a few bits again. In recent years the price of Digital SLR’s has plummeted as the technology has rapidly advanced, previous models have been marked down accordingly when they have been replaced with successive updates. I think it’s a fair comment to say you can now get hold a more than average DSLR for no more than a few hundred pounds (e.g. Nikon D3200 @ 24mp now priced around £220…)
As well as all the traditional features offered by a digital SLR such as the ability to manual set the shutter speed, aperture, ISO, the recent advances in noise level and controlling this at High ISO’s have opened up niche photography types like Astrophotography to even the novice & amateur level photographer.
Finally, it goes without saying that with the advent of digital largely replacing film cameras (although these still have their place), you can now shoot ‘ad infinitum’ without any regard for how much film you may be using or what that might cost you. Thus for the vast majority of users this has massively sped up the steep learning curve that photography can sometimes provide….
Buy one of these versatile bodies today and you are one your way to taking great seascape images.
Finally, if you are considering buying a Body + Lens kit camera my advice would be – don’t avoid it at all costs, but if you can afford it buy the camera body separate and invest in a quality ‘fixed’ prime lens. Read on for more…
2. Wide Angle prime lens
The focal length of a lens is determined by its angle of view, or vice versa, with its metric being degrees. In landscape photography as a rule of thumb the wider the angle of view the better. A wider angle allows you to fit more in the frame at once and also has an effect on the perspective – wide angle lenses tend to ‘stretch things out’ and give larger depth of field. This all helps to create the illusion of a three dimensional environment in a two dimensional image.
While conversely, telephoto lenses compress the objects and reduce depth of field.
Wide angle lenses are generally considered to be in the range 28mm and less with some going ultra-wide to as low as 8-10mm. Although these are extreme lengths and at this range you can risk large distortion of objects and lines such as the horizon.
In my opinion (and it is just that) 20mm is an ideal focal length, with 24mm considered the traditional ‘standard’. 20mm is wide enough for almost anything (including astrophotography)
Finally, if you have to choose between a general everyday ‘workhorse’ zoom lens (i.e. 18-70mm) or a prime lens, go for the prime – if you can afford it.
The investment you make on this will be returned to you many times over if you consider the points below.
Prime Lenses are;
• Fixed focal lengths – the do not change.
• They are therefore sharper than their Zoom counterparts, as they contain higher quality and no moving parts, meaning there is a reduced chance of dust being able to enter the lens (zooms invite dust by the nature of the barrel moving up and down the scale of mm…)
• As the lens controls the sharpness of the light hitting your camera’s sensor, it means you will have sharper images from day one.
• Primes lens have a fixed constant aperture. For example, many are f/1.8 or f/2.8. Being able to open up the aperture to these high values means more light hitting the camera’s sensor during the exposure. In that respect, this makes prime lenses ideal for low light photography and reduces the need to boost your camera’s ISO, whether it is shooting sunsets, astrophotography, or portraits in dimly lit places where flash is not allowed.
3. Sturdy Tripod
The available plethora of tripod brands & models available for photography means that when starting out it can be slightly confusing trying to understand which one you need or is best to look for. Below I outline a few recommended features to look for that will serve you well when on beaches and clifftops..
a) Aluminium or Carbon Fibre?
The former is cheaper than the more expensive latter. Aluminium is not as resistant to corrosion via water as Carbon Fibre. Aluminium is heavier than carbon tripods. However, although carbon fibre can have higher shock resistance, aluminium can be sturdier (at low wind speed).
On the whole – only buy carbon fibre if you can afford it. Avoid cheap steel tripods at all costs.
b) Three or four section legs?
If you are a tall person I would personally go for a tripod with four extending leg sections. This way if you need the tripod extended to its maximum height, chances are the camera will be mounted at or near to eye level rather than having to crouch down to a Hobbit’s height…
If you’re not particularly tall – this isn’t too much of a concern.
c) Independent leg angles
If you can afford it, go for a tripod where the legs can all be independently angled. This means if you find yourself in a tight spot space-wise, then it is no issue to be able to set the legs in an un-orthodox position as separate angles.
This can be a life saver in certain situations
d) Spirit level bubble
Not essential but a convenient feature nonetheless, helping you to align the tripod horizontally and vertically before attaching the camera…
Finally, as a brand I highly recommend Manfrotto. They are an Italian manufacturer and the quality of their products is reliable and second to none, without breaking the bank
I highly recommend the Manfrotto MT190XPRO Aluminium 4 Section Tripod with Horizontal Column
4. Sturdy Tripod Head
The same applies here as above to tripods – the sheer volume available to buy along with features can make it tough going when making a decision. Look out for the following:
1. Ball head or fluid pan head
I would choose a ball head all the time as firstly their simple design means there is little to go wrong long term, and they are therefore easy to maintain and simple to use
2. Magnesium or Aluminium/ Steel parts
If you can afford it, considering magnesium’s resistance to corrosion through weather this type of head is the ultimate choice for seascape photographers. Believe me, I am talking from experience. Buy one of these and appreciate the longevity of life it will give you.
3. Minor Features –
Try to look for a head with a spirit level bubble if your tripod doesn’t have one. Plenty of manufaturers include these as standard now.
Degree rotation markers – some manufacturers mark angle degrees on the base of the read, around which the camera an be rotated – useful for when shooting panoramas.
I highly recommend the Manfrotto XPRO Ball Head, Magnesium Body with 200 PL Plate
20% OFF any Kernow Seascapes Workshop...
...worth up to *£100* when purchasing a Calendar...
20% OFF any Kernow Seascapes Workshop...
...worth up to £100 when purchasing a Calendar...
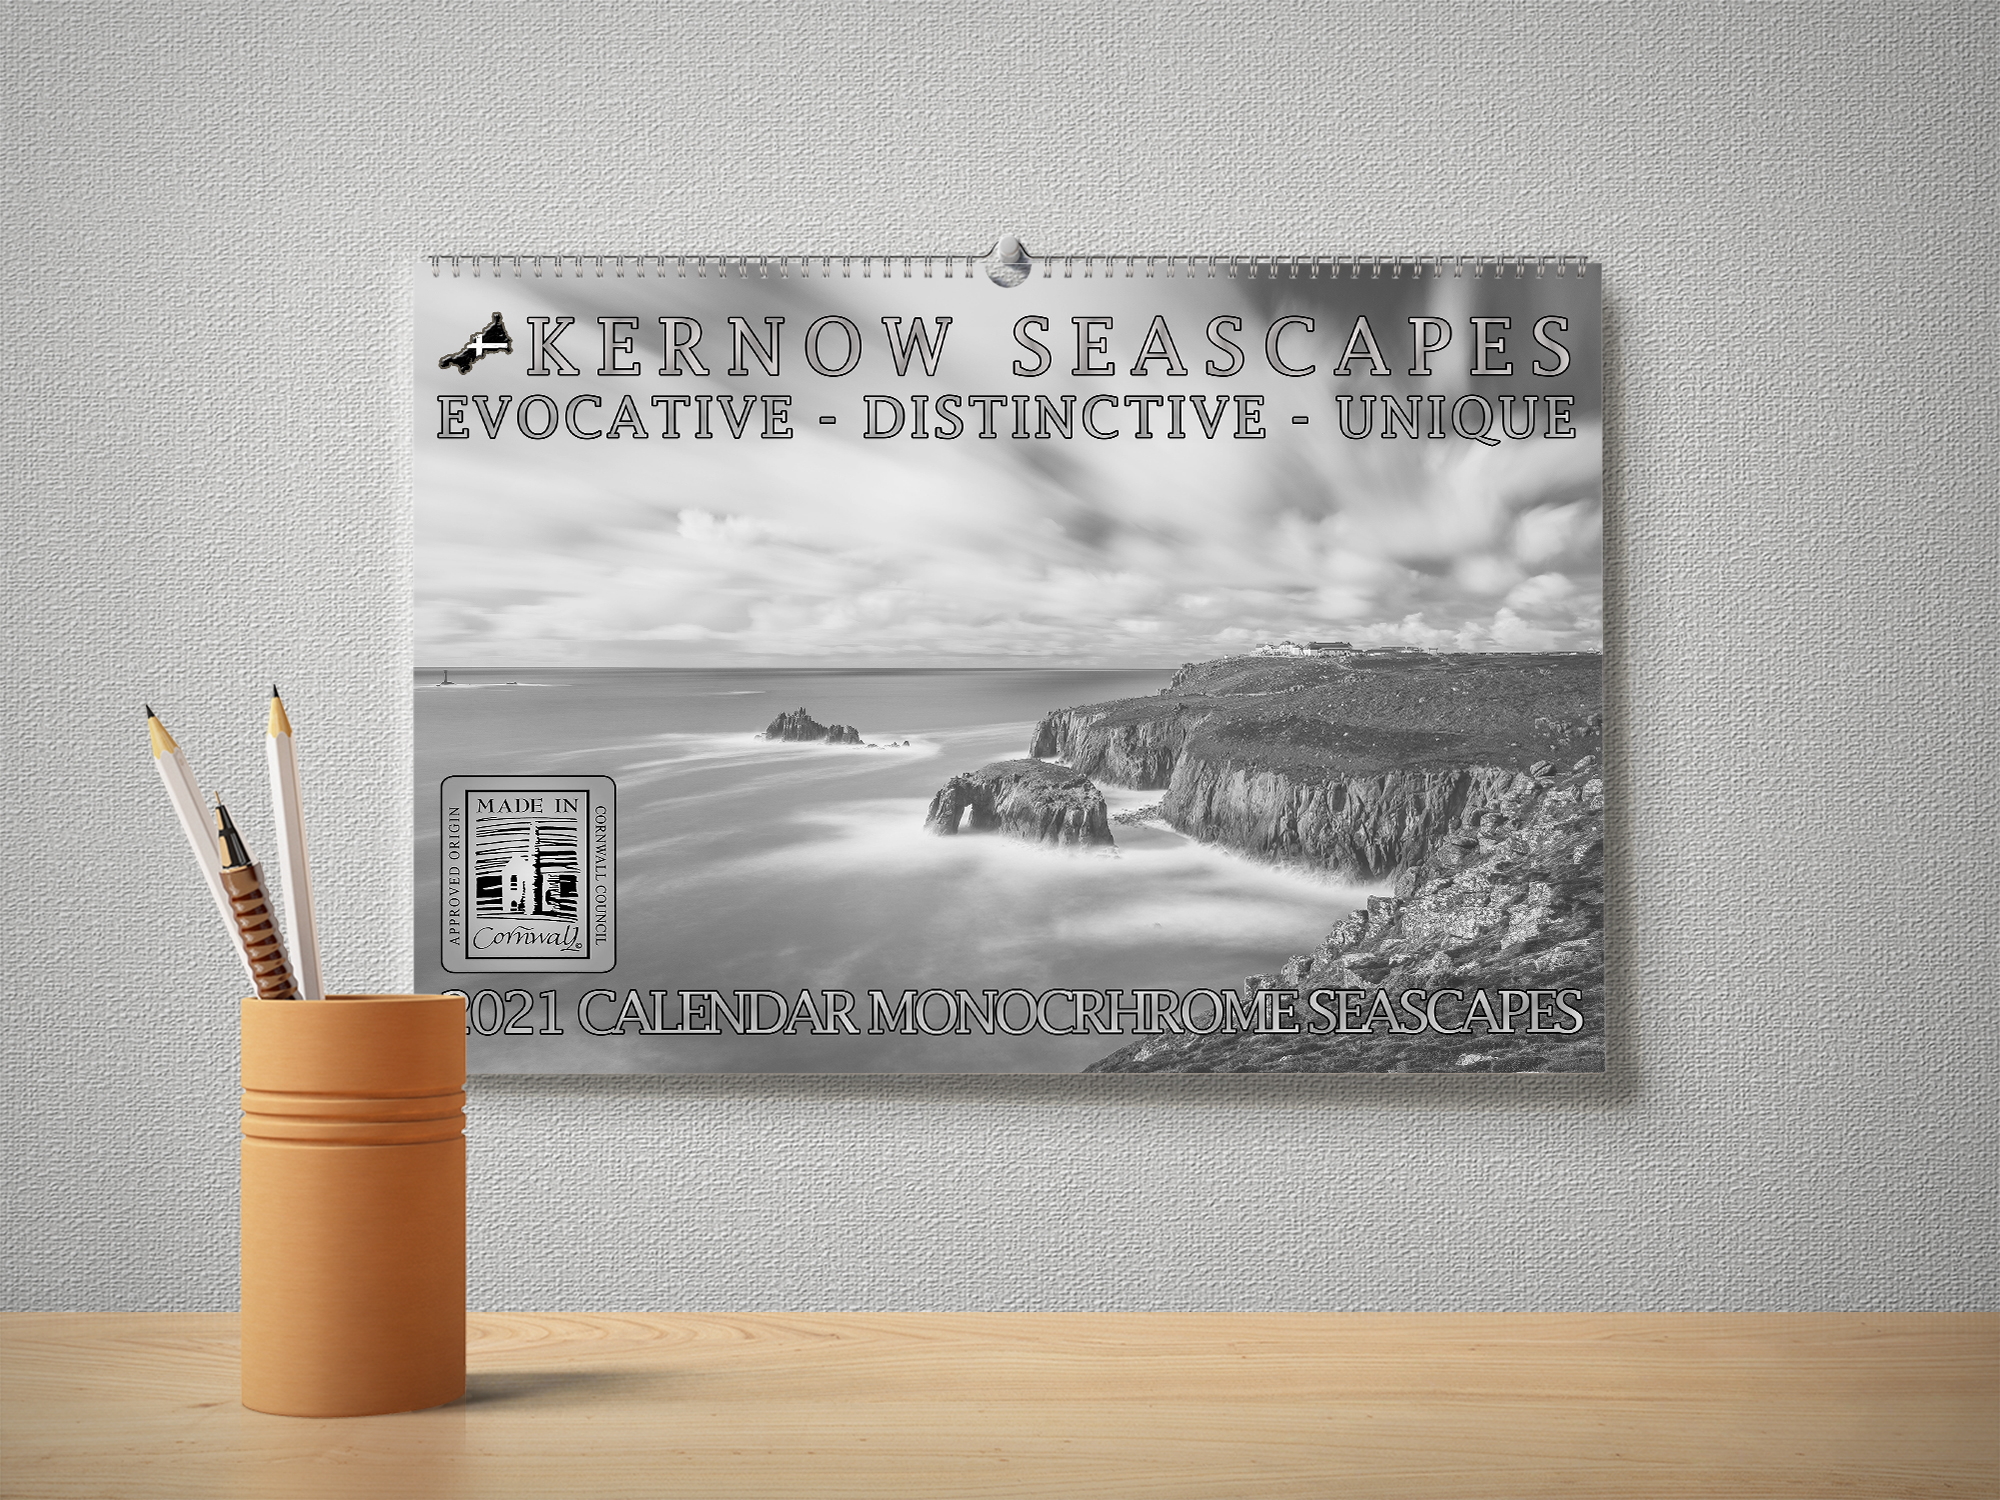
cornwall calendar – monochrome
£14.99 Inc. VAT
cornwall calendar – beaches
£14.99 Inc. VAT
cornwall calendar – cornwall
£14.99 Inc. VAT
cornwall calendar – newquay
£14.99 Inc. VATcornwall calendar – monochrome
£14.99 Inc. VATcornwall calendar – beaches
£14.99 Inc. VATcornwall calendar – cornwall
£14.99 Inc. VATcornwall calendar – newquay
£14.99 Inc. VAT5. Cable Release
Not an essential piece of kit however when you are shooting long exposures this is an invaluable that is worth its weight in gold. The remote release functions means you do not have to depress the Camera’s shutter release button to take the exposure, which means (hopefully) no camera shake button is pressed, and hence results in a sharp, non-blurry exposure. With reliable releases available from as little as £5, you would be mad not to invest in one of these little gadgets.
6. Polarising Filter
Perhaps the most essential piece of kit you could invest in (bar the camera & lens of course!). A polarising filter will boost natural colour saturation, boost contrast and eliminate reflections from reflective surfaces. In respect of the latter, in seascape photography reflective surfaces would be Water. If you are shooting on a beach or low down and near to the moving body of water, this filter will allow you remove the reflection and (if the sea is calm enough) make the water transparent. This is a fantastic effect which I for one personally love and believe it adds an extra dimension to your image.
Polarising filters can be purchased in the format of ‘screw on’ which attache directly to the front of the lens element (cheaper – be sure to purchase the mm value which corresponds to your lenses filter thread – located on the inside of the lens cap, e.g. 67mm) or in the format of one which is attached to a filter holder, that also accommodates other Nuetral Density Filters (more expensive)
7. Neutral Density (ND) & ND Graduated Filter set
These filters allow you to reduce the amount of light reaching the camera’s sensor and therefore permit the shooting of what are referred to as ‘long exposures’. Their respective metric is measured in ‘stops’ usually in increments of 1 going up to 10. These can be combined in a filter holder (maximum usually three filters) to achieve a bespoke light reduction in stops. The bigger the light reduction, the longer the exposure time will be. If you want to achieve water motion blur from even what may be considered a relatively ‘fast’ exposure of one second, up to 30 and beyond (using your camera’s Bulb Mode) – these are essential.
As with tripods tripod heads there are an overabundance of brands and formats to choose from.
However, I recommend the brand Formatt Hitech. While not as expensive as the industry leading Lee Filters, they are more than up to the job in terms of optical quality and the ability ot withstand daily & prolonged use.
A good place to start would be at the web link below –
http://www.formatt-hitech.com/kits/nd-starter-kit
8. Lens Cloth & Pen to clean lens & filters & Extra Batteries
As with the cable release, not essential but they do make life that bit easier when out in the field. I have found lens pens and microfiber cloths to be an absolute life saver in certain conditions such as when my polarising filter has received a rogue water splash on to is front and needs wiping to dry it off so I can continue my shoot – they can be invaluable. As can extra batteries. If you are shooting long exposures, these will quickly deplete your battery, even if it was fully charged when you set out. If you are shooting in a rural area also with limited or no mains electrical supply to charge battery packs – believe me – you need extra power….
These can either be bought as the one provided with your camera or if you opt for a Battery Grip, not only can you choose to add the camera battery type but often they also come with a tray to accept AA batteries too. Although in most cases you must always be sure to use NiMh rechargeable batteries.
9. Appropriate clothing for the weather conditions you are going out in.
Sounds like a no brainer, but if it’s not the height of summer and you are on a clifftop along the Atlantic coast in Cornwall, you will get cold very quickly very easily whilst standing around peering through a camera….
I often opt for a pair of fleece lined, waterproof trouser which see me through all year round except summer. They provide a lifeline in the cold and when it’s slightly warmer, allow you more time out shooting.
For a jacket, I often plumb for an ultra-warm Ski Jacket in Winter, and for the rest of the year, a zip up hoody with a body warmer over generally does the job.
Finally, Fingerless gloves or gloves with a mitten ‘pull over’ which allow you to easily access camera controls and to add or remove filters
10. Other bits that make life easier….
a) Loupe
b) Spirit level